Friday, March 22, 2013

8*2 LCD & Arduino with Direct Serial Monitor

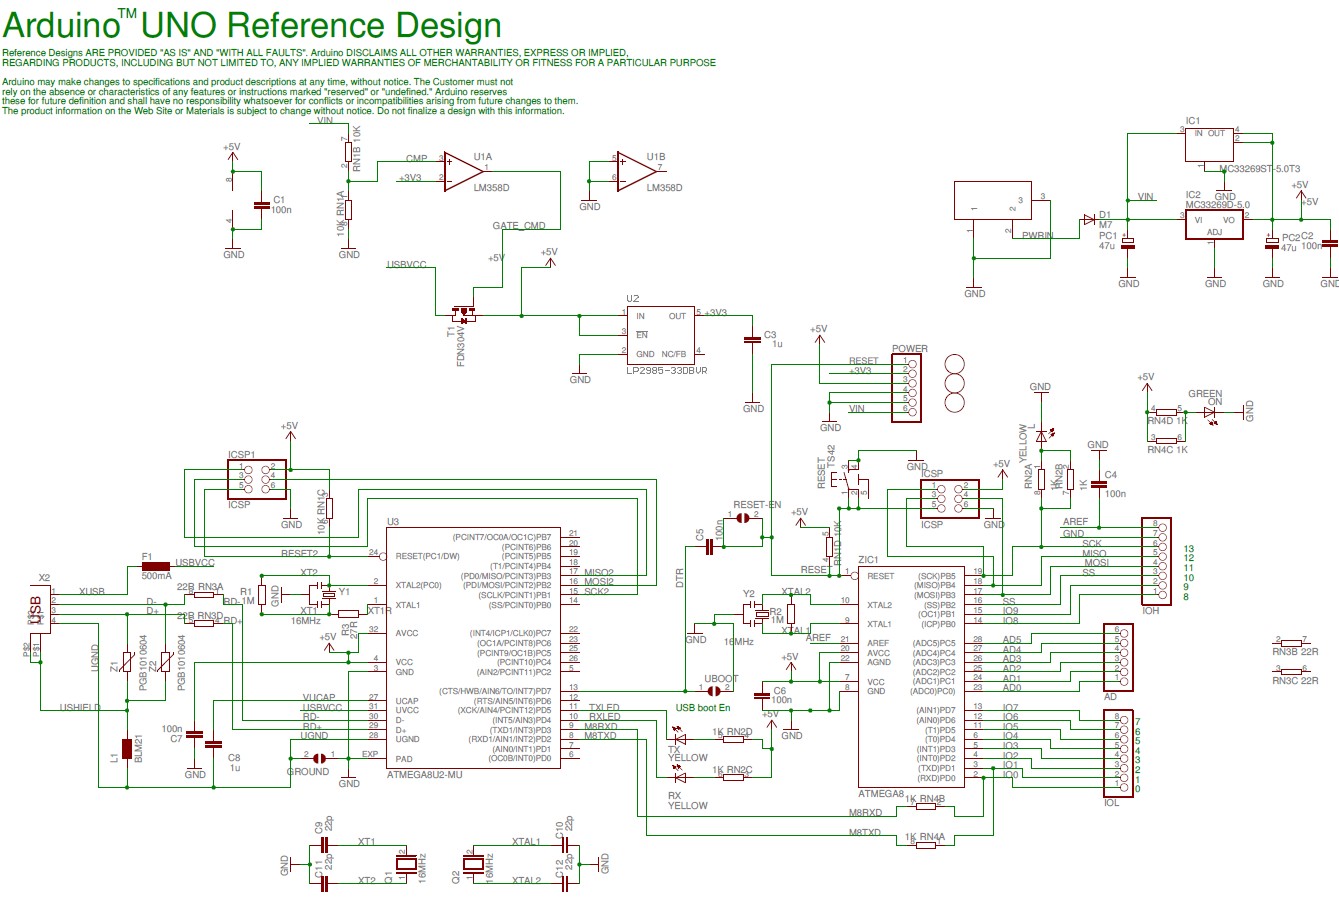
Connect a 8*2 LCD with Arduino. In Bangladesh NORduino Uno a clone of Arduino Uno is available at www.fb.com/OishiElectronicsSylhet . Then upload Following Code . Open Serial Monitor and Make Fun.
#include <LiquidCrystal.h>
//www.fb.com/OishiElectronicsSylhet
// Robi Kormokar (SUST Physics)
//www.fb.com/Nabilphysics(SUST Physics)
//Circuit : Connect a 8*2 LCD and Open Serial Monitor.Simply Type and See in LCD
LiquidCrystal lcd(2, 5, 6, 7, 9, 10);

char arr[16];
int j = 0;
int k = 0;

void setup() {
  Serial.begin(9600);
  lcd.begin(8, 2);
}

void loop() {

  if(Serial.available() > 0) {
    if(k == 0) {
      lcd.clear();
      k = 1;
    }
   
    if(j < 8) {
      arr[j] = Serial.read();
      lcd.setCursor(j, 0);
    }
    else if (j >= 8) {
      arr[j] = Serial.read();
      lcd.setCursor((j-8), 1);
    }
    lcd.print(arr[j]);
    j = j + 1;
  }
  delay(100);
  if(Serial.available() <= 0) {
   j = 0;
   k = 0;
  }
}

Thursday, March 14, 2013

SM-5100B GSM/GPRS Module with Arduino (with Power connection))

I will just Mention Some Photograph which will give you clear instruction. There is a good tutorial Tronixstuff . Be careful about power supply connection. I should recommend use external regulated 5V power supply. 5V have to apply SM-5100B Vin pin and +5V pin. GND must be common. If you have any query you can find me on Facebook www.fb.com/NabilPhysics or call me +8801717973140.

SM-5100B Successful connection  www.fb.com/Nabilphysics


Wednesday, March 13, 2013

DS-3231 Module Extremely Accurate RTC with Arduino and PIC

Coding and connection of DS-3231 is almost similar to popular DS-1307. But DS-3231 is extremely accurate. It has thermally compensating built in crystal on the other hand DS-1307 required external crystal as a result it is less accurate than DS-3231. Arduino has Popular library to use DS-3231. You need wire library , DS-1307 library and Time library to easily interface DS-3231 with Arduino. Accuracy of DS-3231 is super because crystal fluctuation is strongly managed. You have to very careful if you wanna made your own DS-1307 breakout board. because some crystal are not matched with DS-1307 although frequency is written correctly. I tried with some locally managed crystal but i got there is no time update but when i used a crystal from a old computer motherboard i got Everything working fine. I got 1 second error every 4 hours. most of the time every 4 hours 1 second less as it should be. Then i search and got DS-3231 which is absolutely what i want. If you wanna do some work professionally DS-3231 is a correct choice. In Bangladesh you can find DS-3231 at www.fb.com/OishiElectronisSylhet (+8801717973140) . There is a great tutorial Adafruit Tutorial .


www.fb.com/Nabilphysics   and www.fb.com/OishiElectronisSylhet


Sunday, March 10, 2013

Electronic Voting Machine

This is a Prototype of Electric Voting Machine. I made it just for Fun. But it is very useful. It can take vote,Can save vote, no problem if Electricity gone Even it can upload Voting Result To Election commission office server during every vote. I used Arduino to make it. Code below
EVM


#include <EEPROM.h>
#include <LiquidCrystal.h>
// Syed Razwanul Haque(Nabil)
// Shahjalal University of Scinece and Tech

(Bangladesh)
// www.ArduinoPic.blogspot.com
int reset=8;
int vote1=6;
int vote2=7;
int i=0;
int a=0;
int b=0;
int t=0;
LiquidCrystal lcd(12, 11, 5, 4, 3, 2);
void setup()
            {  lcd.begin(16, 2);
               pinMode(reset, INPUT);
               pinMode(vote1, INPUT);
               pinMode(vote2, INPUT);
               pinMode(13, OUTPUT);
               lcd.setCursor(3, 0);
               lcd.print("ELECTRONIC");
               lcd.setCursor(1,1);
               lcd.print("VOTING MACHINE");
               delay(8000);
               lcd.setCursor(3, 0);
               lcd.print("          ");
               lcd.setCursor(1,1);
               lcd.print("              ");
            }
        
void loop(){
  int y=analogRead(A4);
  if(y>500)
      {
        EEPROM.write(0,0);
        EEPROM.write(1,0);
        EEPROM.write(2,0);
        digitalWrite(13,HIGH);
        lcd.setCursor(0, 0);
        lcd.print("Memory Cleared");
        lcd.setCursor(0,1);
        lcd.print("Ready For Voting");
             
        delay(8000);
        digitalWrite(13, LOW);
        lcd.setCursor(0, 0);
        lcd.print("              ");
        lcd.setCursor(0,1);
        lcd.print("                ");
       
      } 
            a= EEPROM.read(0);
            b=  EEPROM.read(1);
            t= EEPROM.read(2);
              lcd.setCursor(0, 0);
              lcd.print("Total Vote=");
              lcd.setCursor(11,0);
              lcd.print(t);
             
              lcd.setCursor(0, 1);
              lcd.print("Nabil=");
              lcd.setCursor(6,1);
              lcd.print(a);
             
              lcd.setCursor(8, 1);
              lcd.print("Isrq=");
              lcd.setCursor(14,1);
              lcd.print(b);
             
              int vote_1state=analogRead(A0);

//digitalRead(vote1);
              int vote_2state=analogRead(A5);     

            //digitalRead(vote2);
              int reset_state= digitalRead(reset);
             
      if(reset_state== HIGH)
        { i--;
        if(i==-1)
       {
         i=0;
         digitalWrite(13,HIGH);
       }
        }
         if(vote_1state>2 && i==0 &&

vote_2state<1)
             {
              a++;
              lcd.setCursor(0, 1);
              lcd.print("Nabil=");
              lcd.setCursor(6,1);
              lcd.print(a);
              delay(300);
              EEPROM.write(0,a);
              t++;
              delay(300);
              EEPROM.write(2,t);
              lcd.setCursor(0, 0);
              lcd.print("Total Vote=");
              lcd.setCursor(11,0);
              lcd.print(t);
              delay(15000);
             
             
             }
             if(vote_2state >2 && i==0 &&

vote_1state<1)
              {
              b++;
               lcd.setCursor(8, 1);
              lcd.print("Isrq=");
              lcd.setCursor(14,1);
              lcd.print(b);
              delay(300);
             EEPROM.write(1,b);
              t++;
              delay(300);
              EEPROM.write(2,t);
              lcd.setCursor(0, 0);
              lcd.print("Total Vote=");
              lcd.setCursor(11,0);
              lcd.print(t);
              delay(15000);
             }
           
          if(vote_1state >2 || vote_2state>2) 
               for(i=0;i<2;i++)
               if(i!=0)
               digitalWrite(13, LOW);
              
      delay(300); 
}  

Monday, March 4, 2013

74hc595 Protious Simulation

Protious Simulation to understand basic working mechanism of 74hc595 Shift Register. (Syed Razwanul Haque Nabil)

Download : Click Here  


sim-548 Interfacing without Breakout Board with Arduino and PIC Microcontroller

sim-548 Interfacing without Breakout Board with Arduino and PIC Microcontroller : : by Syed Razwanul Haque (Nabil)

Please Download the image and Rotate Clockwise. You have to very careful while Soldering.. Module Tx will be connected with Arduino Rx and Module Rx will be conected with Arduino Tx. I used a nokia 3.7V battery for Power . Power key should be connected with Push button. Other pin of push button should be connected with Ground. For status LED +ve of LED should be connected with PIN 16 of gsm module and negative with Ground.Dont forget to use LM2576 power IC for power supply as recommended in datasheet. a Code Below :


www.fb.com/Nabilphysics
Code : For Arduino
//OISHI electronics sylhet,Bangladesh. www.fb.com/OishiElectronicsSylhet
//Syed Razwanul haque(Nabil) and Robi Kormoker www.fb.com/Nabilphysics +8801717973140
//Shahjalal University of Science and Technology (www.sust.edu)
//Department of Physics
// Code for Arduino 0023
// Download NewSoftSerial library from www.arduino.cc
#include <NewSoftSerial.h>  //Include the NewSoftSerial library to send serial commands to the cellular module.

char r=13;  //return character
NewSoftSerial cell(2,3);  //Create a 'fake' serial port. Pin 4 is the Rx pin, pin 3 is the Tx pin.
String cellContent="";   //string we're sending
String ctlZ="\x1A";     //the code for Ctrl-Z

String content="Test Massage";    //The text I'm sending

void setup() {

  // start the serial library:
  Serial.begin(9600);
  cell.begin(9600);

}

void loop()
{

//add our message to the CellContent string
  cellContent+=content;
//add the Crtl-Z hex character 
  cellContent+=ctlZ;
//put the modem into text mode 
  textMode();
//wait for a moment 
  delay(50);
//send message 
  sendMsg();

cellContent="";
delay(60000);

}

void textMode()
{
  //init text mode
  cell.print("AT+CMGF=1");
  cell.print(r);
}

void sendMsg(){
//This number needs to be replaced with the number you are sending to 
  cell.print("AT+CMGS=\"01717973140\"");
  cell.print(r);
  cell.print(cellContent);
  cell.print(r);
}

Sunday, March 3, 2013

Q2406 , Q2303 Similar wavecom GSM Modem Interface with Arduino

Q2406,Q2303 Similar wavecom GSM Modem Interfacing with Arduino: (Syed Razwanul Haque Nabil )
www.fb.com/Nabilphysics    www.fb.com/OishiElectronicsSylhet
This is a very simple way to interface Q2303 or similar wavecom module with Arduino. Connect Tx of Modem with Arduino Rx and Rx of Modem with Arduino Tx pin (Software Rx, Tx). Power up Modem with Adapter(5V, 1A). Insert SIM. Make sure modem switch is on. Modem GND must be connected with Arduino GND. I draw a picture for Interfacing with Arduino. I tested it. Code is below.


//OISHI electronics sylhet,Bangladesh. www.fb.com/OishiElectronicsSylhet
//Syed Razwanul haque(Nabil) and Robi Kormoker www.fb.com/Nabilphysics +8801717973140
//Shahjalal University of Science and Technology (www.sust.edu)
//Department of Physics
// Code for Arduino 0023
// Download NewSoftSerial library from www.arduino.cc
#include <NewSoftSerial.h>  //Include the NewSoftSerial library to send serial commands to the cellular module.

char r=13;  //return character
NewSoftSerial cell(2,3);  //Create a 'fake' serial port. Pin 4 is the Rx pin, pin 3 is the Tx pin.
String cellContent="";   //string we're sending
String ctlZ="\x1A";     //the code for Ctrl-Z

String content="Test Massage";    //The text I'm sending

void setup() {

  // start the serial library:
  Serial.begin(9600);
  cell.begin(9600);

}

void loop()
{

//add our message to the CellContent string
  cellContent+=content;
//add the Crtl-Z hex character 
  cellContent+=ctlZ;
//put the modem into text mode 
  textMode();
//wait for a moment 
  delay(50);
//send message 
  sendMsg();

cellContent="";
delay(60000);

}

void textMode()
{
  //init text mode
  cell.print("AT+CMGF=1");
  cell.print(r);
}

void sendMsg(){
//This number needs to be replaced with the number you are sending to 
  cell.print("AT+CMGS=\"01717973140\"");
  cell.print(r);
  cell.print(cellContent);
  cell.print(r);
}

Animated Digital Clock with PIC microcontroller and DS-3231 RTC


Animated Digital Clock with PIC microcontroller and DS-3231 RTC

In this clock their is two unit. One unit is for animated second and other for normal hour and minute. For Hour and clock PIC16F72 and for animated second PIC16F877 has been used. For real time their is a DS-3231 RTC (Real Time Clock) which has built in thermal compensating clock. DS-3231 interface using I2C . DS-3231 give pulse to second circuit to change second. Its a very good looking CLOCK. Its now a commercial product of OISHI Electronics, Sylhet, Bangladesh (www.facebook.com/OishiElectronicsSylhet). I suggest all to use DS-3231 instead of DS-1307 . Me and my teacher with my student we made also Arduino version of this clock. Thanks All. Further query : +8801717973140 Facebook: www.fb.com/Nabilphysics 

Syed Razwanul Haque (Nabil)
Msc Student and Microcontroller circuit designer ,Programmer and Project planer at OISHI Electronics
Department of Physics
Shahjalal University of Science and Technology, Sylhet, Bangladesh (www.sust.edu)

Saturday, March 2, 2013

NORduino UNO (Clone of Arduino UNO)

NORduino Uno is clone of Arduino UNO. It is available in Bangladesh market(only @ 1200TK). Please see our page www.facebook.com/OishiElectronicsSylhet I designed it with help of OISHI Electronics Sylhet, Bangladesh and with my student Robi Kormoker(SUST-Physics Department ) I mentioned below schematic although its not exact schematic of  NORduino but it will make you understand to design it with help of NORduino .

This is a Arduino Uno schematic(collected).my another blog www.nabilphysics.blogspot.com